Installing a Pi-hole with Unbound
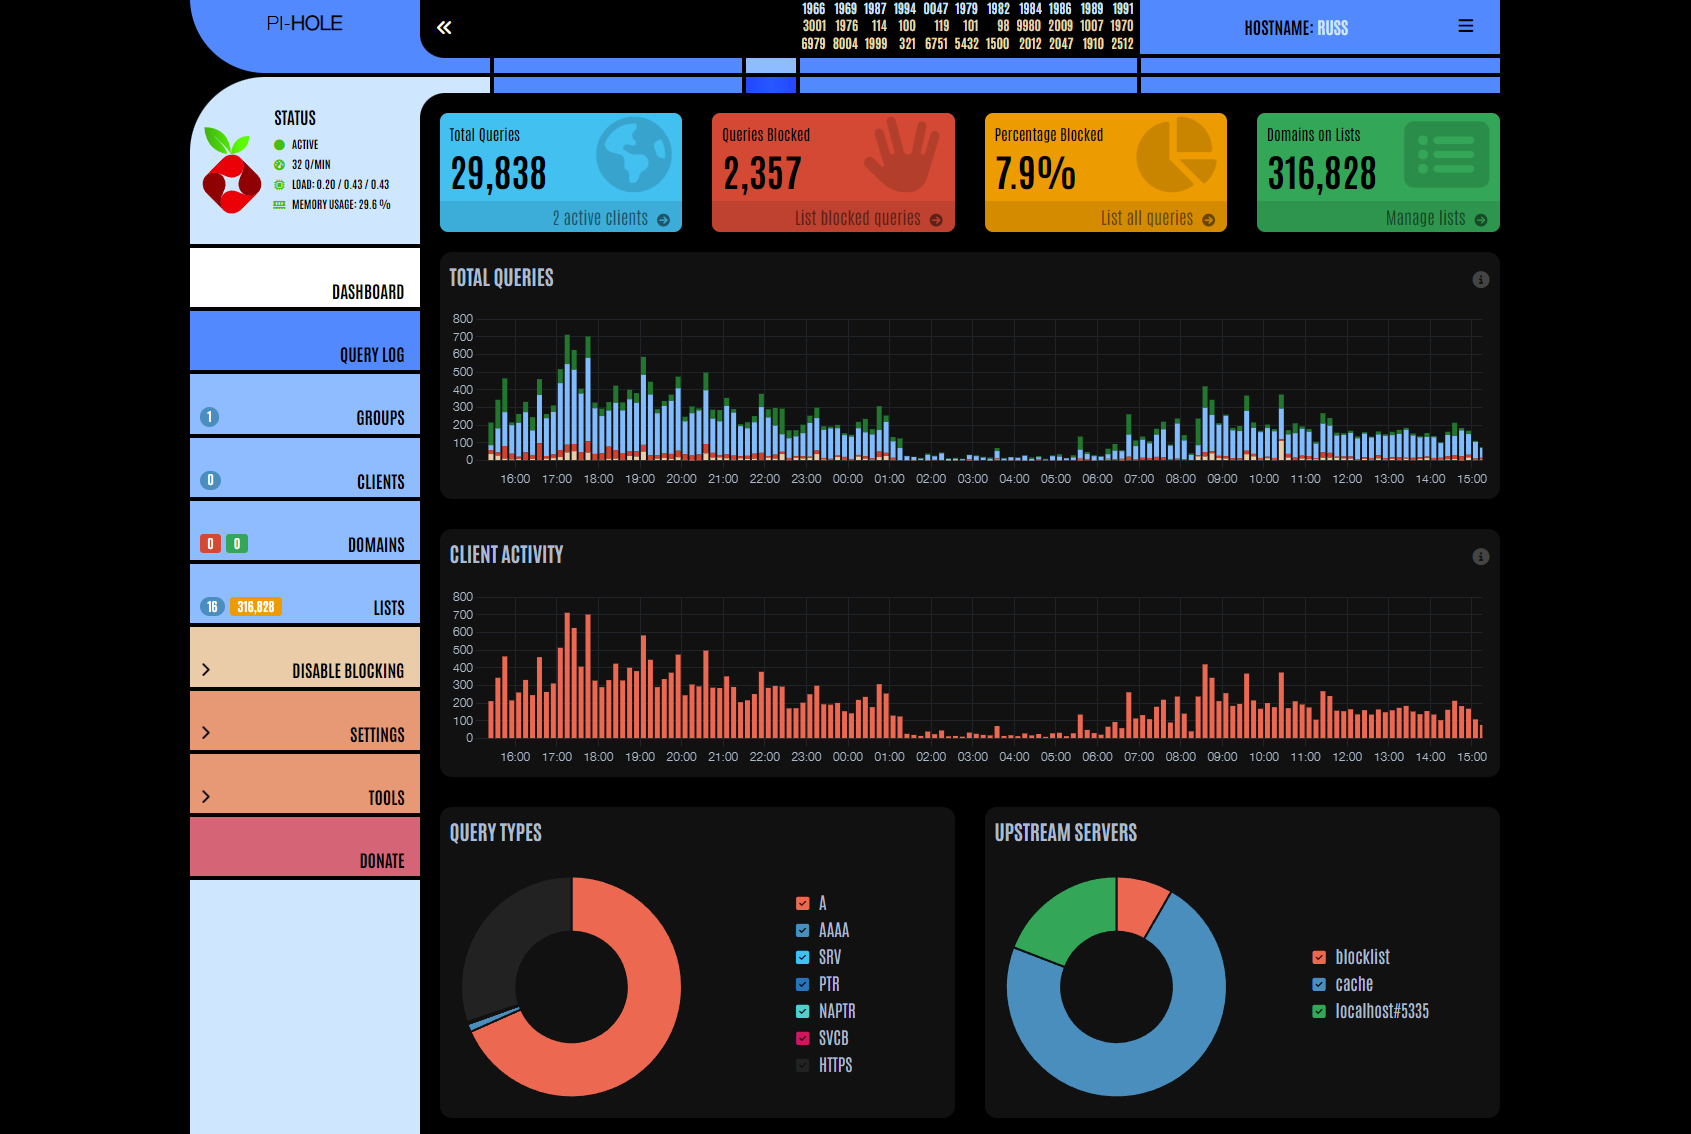 The web interface of my Pi-hole. Naturally, I am using the excellent LCARS theme that comes with the software.
A while ago, I installed the Pi-hole software with the Unbound DNS resolver on an old Raspberry Pi to handle all DNS queries in my home network. I did this mostly for privacy reasons, because I don’t like to be tracked when surfing around the internet — which I do for pretty much all of the waking hours of my day. A secondary consideration was that I do not appreciate my ISP blocking websites like Russia Today and The Pirate Bay. As an IT journalist working mostly from home, my ability to do my job properly depends on me getting access to all possible information sources and I’ve routinely had to resort to using VPNs to get access to censored websites. But why jump through that hoop when this censorship is only enforced at the DNS level and thus easily bypassed by running your own DNS server? An additional bonus feature of my Pi-hole setup is, of course, that it blocks many known malware and spam domains and thus keeps devices in my network more secure.
Basic Knowledge
Before I get into a step-by-step tutorial of how to install my Pi-hole + Unbound setup, I want to explain some concepts that not every reader might be familiar with. Feel fee to skip to the step-by-step tutorial if you know what DNS is and how both the Pi-hole and Unbound software packages work.
What is DNS?
DNS, or the Domain Name System, is an internet protocol that you use every day. You see, when you type fab.industries in your browser address bar or click a link — a bookmark in your browser, a link on another website or from a search engine — your computer doesn’t actually know how to get to my website. This is because the address fab.industries doesn’t explain how to use the internet to get to the actual computer (i.e. the webserver) that provides my website. For this, your device needs the IP address of my webserver. Since those are hard to remember, and since more than one physical (or virtual) computer might be used to serve a single website, we have DNS, which dynamically resolves the human-readable domain name (fab.industries) to an IP address (63.176.8.218). This is what a typical DNS query looks like:
[fabsh@lion ~]$ dig fab.industries

; <<>> DiG 9.20.18 <<>> fab.industries
;; global options: +cmd
;; Got answer:
;; ->>HEADER<<- opcode: QUERY, status: NOERROR, id: 58498
;; flags: qr rd ra; QUERY: 1, ANSWER: 2, AUTHORITY: 0, ADDITIONAL: 1

;; OPT PSEUDOSECTION:
; EDNS: version: 0, flags:; udp: 1232
; EDE: 3 (Stale Answer)
;; QUESTION SECTION:
;fab.industries.                        IN      A

;; ANSWER SECTION:
fab.industries.         0       IN      A       63.176.8.218
fab.industries.         0       IN      A       35.157.26.135

;; Query time: 5 msec
;; SERVER: 192.168.178.1#53(192.168.178.1) (UDP)
;; WHEN: Tue Mar 10 12:23:23 CET 2026
;; MSG SIZE  rcvd: 81
If you want to know more about how DNS works, I’ll refer you to this excellent explainer — which in turn lists some good pointers for further reading under “references”.
Since not only humans, but also computer programs, operate on domain names and need to look up these IP addresses constantly, this mechanism can be used to filter out unwanted queries. This is where the Pi-hole comes in.
What is a Pi-hole?
Normally, your home network will be set up like this: Your router, which collects all of your network’s traffic before handing it off to the internet, will have a setting that tells it what DNS servers to use. Most people use the ones that have been pre-configured by their ISP — usually the ISP’s own DNS servers. Or they use Google’s or Cloudflare’s DNS servers. But if you take control of this yourself and filter all DNS queries through some software, you can control what URLs (website addresses) devices in your network can access.
This is what the Pi-hole software does. You can install this on low cost computing hardware, say a Raspberry Pi mini computer, and tell your router to use this as its DNS server, instead of the ones from your ISP or Google. The Pi-hole can then filter all DNS traffic, before in turn asking those aforementioned DNS servers to resolve the DNS queries. This allows you to automatically filter out unwanted URLs. This is mostly used to prevent internet ads from loading, but it can also improve your privacy and security by blocking tracking servers and those that serve malware.
How does this work? Well, the Pi-hole has a blacklist with sites you don’t want anything on your network to contact and if something does, it just doesn’t hand off that query to the DNS servers. It simply eats it and pretends the query never happened. That way, whatever content the device that asked for the web address wanted to load, just can’t be loaded. The ad never shows, the tracker never gets reached and the dangerous code can’t be downloaded. Pretty nifty!
Blocking advertising and tracking is good, but much of what the Pi-hole does can also be done via adblocker plugins for browsers — and those can also block many of these pesky video ads. So why go through the hassle of setting up dedicated hardware to do it? Well, by adding another piece of software to the puzzle, you get some even better privacy, security and anti-censorship features.
What is Unbound?
One thing most people never think about is that a DNS server sees all websites they visit. And it can also infer what kinds of devices you have on your network, based on the very specific web addresses those devices connect to automatically. This means your ISP (or Google, or whoever’s DNS servers you are using) can thoroughly profile you and the users on your network purely based on usage of the web. If you use a Pi-hole to filter your DNS traffic, most requests still go through to the DNS servers and your ISP or Google still knows all the websites you visit and what your devices are up to. You might not be loading most of Google’s ads, but if you use their DNS servers, they still know who you are and what you are up to.
You can very easily plug this information leak, though. You do that by running your own DNS server. Sounds complicated and scary, I know, but it really isn’t. If you have deployed a Raspberry Pi with Pi-hole running on it, you are already 90% there. Through the package manager of the Linux distribution that you’re running your Pi-hole on, you can also install a package called Unbound, which is DNS software that is running on a large number of internet servers. Once this is installed and running on your Raspberry Pi, you can simply set the Pi-hole to use the local Unbound server instead of the upstream DNS servers from your ISP or another provider. A DNS query will then be generally answered by the software running on your Raspberry Pi.
Only if the address you are looking for hasn’t been seen by Unbound (is not in its cache), will it then go out and ask servers on the internet what IP is associated with it. And even then, it is asking a number of distributed servers in the DNS hierarchy, instead of one set of servers sitting at your ISP or Google. This makes it much harder, if not almost impossible, for third parties to know all about your surfing habits. The flow of DNS queries from your device (client) to the internet now looks as follows:
+--------------+
|    CLIENT    |
|              |
| +----------+ |
| | Browser  | |        < INTERNET >
| |          | |        Authoritative <----+
| |          | |        Name Servers  ----+|
| +----+-^---+ |                          ||
+------+-+-----+                          ||
       | |                                ||
       | |                                ||
+------v-+-----+    +---------------------++----+
|              |    |       RASPBERRY PI  ||    |
|              |    |  +--------+   +-----v+-+  |
|              |    |  |Pi-hole |   |Unbound |  |
|    ROUTER    +----+->|        +-->|        |  |
|              |    |  |        |   |        |  |
|              |<---+--+        |<--+        |  |
|              |    |  +--------+   +--------+  |
+--------------+    +---------------------------+
Instead of a server on the internet (from your ISP, Google or another DNS provider), your Pi-hole is now in charge of deciding what DNS queries to allow and which ones to block and your own Unbound installation is now the central place that knows all about your surfing habits. And since it’s on your network, you are in control of that data. Depending on how fast the Raspberry Pi is that you are using — I use one of the slowest models — this setup will slow down your DNS queries, especially when looking up a new domain you have’t visited before, but I myself gladly pay this price for the increased privacy this solution offers. Especially since we are mostly talking fractions of a second here.
You can learn more about how exactly the Pi-hole and Unbound handle DNS queries in this guide in the Pi-hole documentation.
DNS-Based Censorship
As an added bonus, your own Unbound pulls in unconstrained information from the global DNS network. That means that all websites that are reachable from other parts of the globe are reachable by you. Let’s say you’re in Germany and want to compare the overabundant NATO propaganda on the war in Ukraine with the Russian propaganda from RT.com, which is censored by DNS servers provided by ISPs across Europe. Or you might be doing some research on the current resurgence in file sharing and “software piracy”, but can’t access the sites blocked in Germany on the behest of the Clearing House for Copyright on the Internet (Clearingstelle Urheberrecht im Internet, CUII). Since the current censorship approach operates by pressuring ISPs to not resolve DNS queries for these domains, you’ve just circumvented that whole censorship system by running your own DNS resolver.

Now that we have a basic understanding of what we’re installing here, let’s go on to an explanation on how to do it in detail.
How to Install a Pi-hole with Unbound
To set up your own local ad-blocker with its own DNS resolver, you need the following:
- A Raspberry Pi to run the Linux distro Raspberry Pi OS (formerly known by the name Raspbian and still based on Debian Linux)
- A power supply for the Raspberry Pi that provides enough juice for the model you’re using
- An SD card with at least 16 GB of free space and a maximum capacity of less than 2 TB
- A network cable and a free Ethernet port on your router
Installing and Setting up the Raspberry Pi OS
The first step in the installation process is to copy the Raspberry Pi OS onto your SD card. If you use Windows, download the Raspberry Pi Imager. On Linux, you can get it either from your distro’s repositories or you can install an AppImage from the aforementioned link. Start the imager and choose your Raspberry Pi model. In my case, this was “Raspberry Pi Model 1”.
Next, select Raspberry Pi OS (other) and choose a lite version of the operating system to install. For my Raspberry Pi model, since it has a 32-bit processor architecture, I chose “Raspberry Pi OS Lite (32-bit)”. You might want to pick the 64-bit option here, if you have a newer Pi.
Connect the SD card to your system. If it gets mounted automatically, you might have to unmount it before you can use the imager to flash the Raspberry Pi OS to the card. Back up all data on the card before proceeding with the installation. The imager will delete everything on there once you hit the write button. Now, select the SD card in the imager.
Configure the operating system you’re about to install: Choose a hostname, localisation settings and pick a username and a password. You can skip the Wi-Fi setup, as we will be connecting the Raspberry Pi via an Ethernet cable directly to your router. What you will definitely have to do though, is to configure SSH authentication. I use a password, but you can also use a public key, if you want. For security reasons, I would advise against setting up Raspberry Pi Connect, though. Let’s make sure that only people on the local network have access to your DNS server. 😉
Now, it is time to write the operating system to the SD card. Once that is done, put the card into your Raspberry Pi, connect it via Ethernet to your router and boot the device.
SSH into your freshly installed Raspberry Pi OS. To do this, you might have to log into the web interface of your router to figure out what IP address the Raspberry Pi was assigned. Once you have logged in, update the Raspberry Pi OS Linux distro: sudo apt update && sudo apt upgrade -y
This will probably take a few minutes. In the meantime, you can check your router web interface for the Pi’s entry in the DHCP settings. These settings look different in every router, but essentially, you want to assign a fixed IP address to your Raspberry Pi that will be running the Pi-hole — mine is located at 192.168.178.3. If you can’t figure out how to do this, use a search engine to find the user manual for your router model. This should explain how to set fixed IP addresses for connected devices. You might also want to read up on how DHCP generally works in a home network.
When apt has finished the system upgrade and you have set a fixed IP for your Pi in your router’s DHCP settings, reboot the Raspberry Pi. Next, we will be installing the Pi-hole software.
Installing and Configuring the Pi-hole
SSH back into your Raspberry Pi. Now go to https://install.pi-hole.net and check that the script at that URL matches the one in the Pi-hole GitHub repo. Read through this script and, if you can, make sure it doesn’t do anything malicious. Maybe have a look at who edited what in the code.
When you are satisfied, run this script as a regular user (do not use sudo or su): curl -sSL https://install.pi-hole.net | bash
The Pi-hole TUI install wizard will start automatically. For now, chose OpenDNS as the upstream DNS provider (we will be changing this soon). Use the default blocklist, install the admin web interface and disable query logging. Unintuitively, queries will still be logged in the admin web interface and if you need further logging on the command-line, you can always enable this query logging feature in the web interface later on — when troubleshooting DNS resolution problems, for example.
Choose a privacy mode for the web interface. I use Level 0, but if you live together with people who have a certain expectation of privacy within the household (if you have roommates, for example), you might want to change this. After the install wizard has concluded and you are back on a command-line, set a password for the Pi-hole’s admin web interface: sudo pihole setpassword
Now, log into the web interface. Access this by pointing your browser to https://hostname/admin → replace hostname with the actual hostname you have assigned your Raspberry Pi. If that doesn’t work, use the device’s IP address in place of the hostname. You will probably have to click through some warnings, as the web interface uses a self-signed TLS certificate.
Once you’re in the web interface, you might want to add additional blocklists. This is a good resource for optional blocklists and this article gives some hints on where to start, if you are lost. I myself currently use the default blocklist plus these additional lists for, at the time of writing, a total of 316,828 blocked domains:
https://raw.githubusercontent.com/PolishFiltersTeam/KADhosts/master/KADhosts.txt
https://raw.githubusercontent.com/FadeMind/hosts.extras/master/add.Spam/hosts
https://v.firebog.net/hosts/static/w3kbl.txt
https://adaway.org/hosts.txt
https://v.firebog.net/hosts/AdguardDNS.txt
https://v.firebog.net/hosts/Admiral.txt
https://v.firebog.net/hosts/Easyprivacy.txt
https://v.firebog.net/hosts/Prigent-Ads.txt
https://raw.githubusercontent.com/crazy-max/WindowsSpyBlocker/master/data/hosts/spy.txt
https://hostfiles.frogeye.fr/firstparty-trackers-hosts.txt
https://raw.githubusercontent.com/DandelionSprout/adfilt/master/Alternate%20versions%20Anti-Malware%20List/AntiMalwareHosts.txt
https://raw.githubusercontent.com/FadeMind/hosts.extras/master/add.Risk/hosts
https://raw.githubusercontent.com/Spam404/lists/master/main-blacklist.txt
https://urlhaus.abuse.ch/downloads/hostfile/
https://lists.cyberhost.uk/malware.txt
On the command-line, run sudo pihole -g to download and apply the new blocklists.
Your Pi-hole is now ready to go. It is time to test it! No, wait. I might want to rephrase that … 😬
Anyway. Log back into your router’s web interface and find out where to set the DNS servers. This, once again, looks different for every router manufacturer. You might need to consult a manual once more. The setting can usually be found where you configure the connection to your ISP. When you’ve found it, enter the IP address of your Raspberry Pi on the LAN. If the router requires two DNS server addresses, like mine does, just enter the same IP twice.
Once you applied this setting, start surfing the internet on a device within you local network and see if requests to new websites, or those you haven’t visited in a while, resolve. You can also check the Pi-hole’s web interface to watch queries come in and see how many of these get blocked. Once you're satisfied that the system works, you're ready for the next step. Let’s install Unbound.
Installing and Configuring Unbound
On the command-line of your Raspberry Pi OS, execute sudo apt install unbound -y to install the Unbound DNS resolver. Once that is done, configure Unbound by creating a config file that sets it up to work hand-in-hand with the Pi-hole already running on the system. Run sudo nano -w /etc/unbound/unbound.conf.d/pi-hole.conf to create this config file and then paste in the configuration listed here in the Pi-hole documentation. After reading through it, of course.
Next, restart the Unbound service with sudo service unbound restart. Check that the service is running with sudo service unbound status and then check that DNS queries are working with dig fab.industries @127.0.0.1 -p 5335. The output of this command should not give you an error and instead should return IP addresses like in my example above.
Now log into the Pi-hole admin web interface and go to Settings > DNS. Create a new custom entry that points to Unbound running on the same system under port 5335: 127.0.0.1#5335 — make sure that all checkmarks for Upstream DNS Servers are unchecked.
Finally, make sure your Pi-hole software is up to date. To do this, run the following command on the command-line: sudo pihole -up — you might want to repeat this from time to time, to keep the software up to date.
Parting Words
That’s it! You have your own Pi-hole up and running in your local network, filtering ads, trackers and malware. And the built-in DNS resolver preserves your privacy and gives you freedom from overbearing censorship at the DNS level. The setup described in this tutorial has served me well for months. I hope it does the same for you.
Should you run into issues with this setup and websites aren’t resolving for you or other users in your home network, remember that a quick workaround is to bypass the Pi-hole by re-enabling upstream DNS servers in your router. Just enter IPs from one of these providers in your router’s web interface, while you fix any issues with Pi-hole or Unbound. We all know that, these days, interruptions in internet connectivity can become a life-and-death matter, especially if you have teenage kids addicted to Instagram, YouTube or TikTok. Just remember to switch your router DNS settings back to your Raspberry Pi’s IP address, once you have verified that the Pi-hole and Unbound are both working correctly again.
Save travels on the internet, friend!